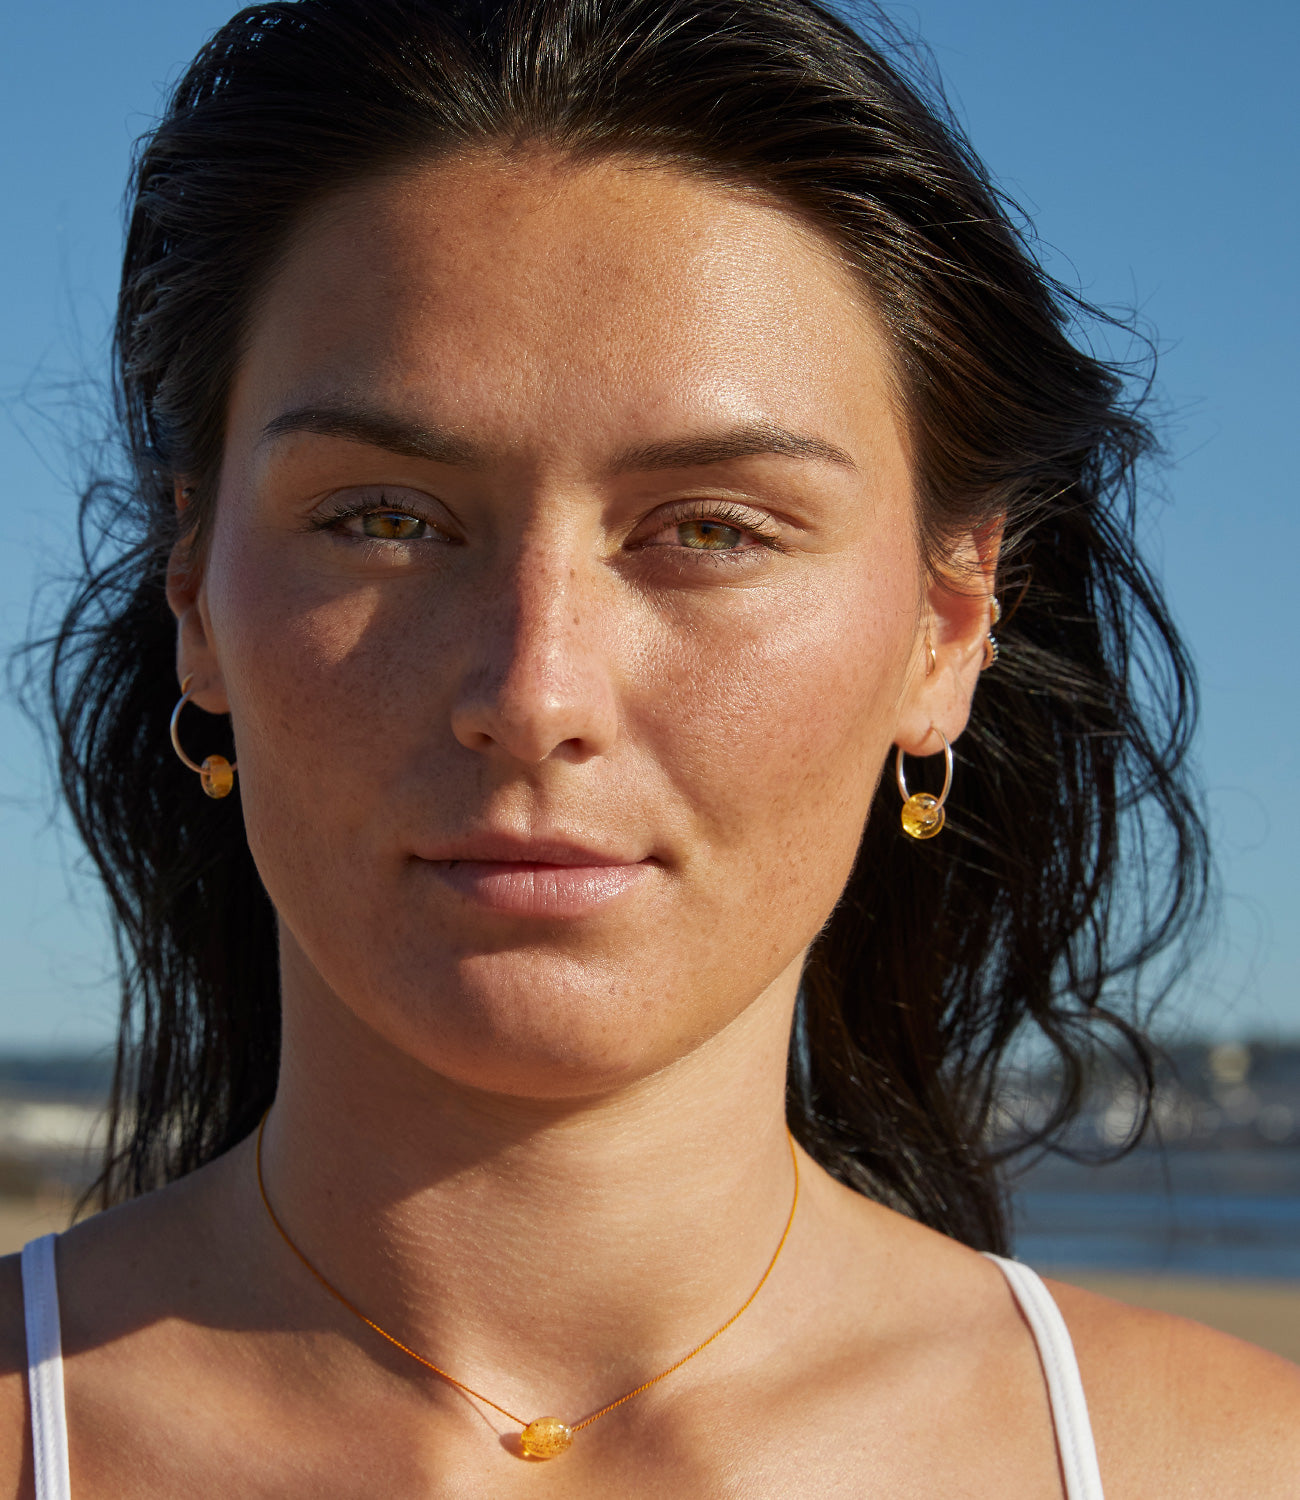
Get creative and make your own beautiful and unique beach jewellery
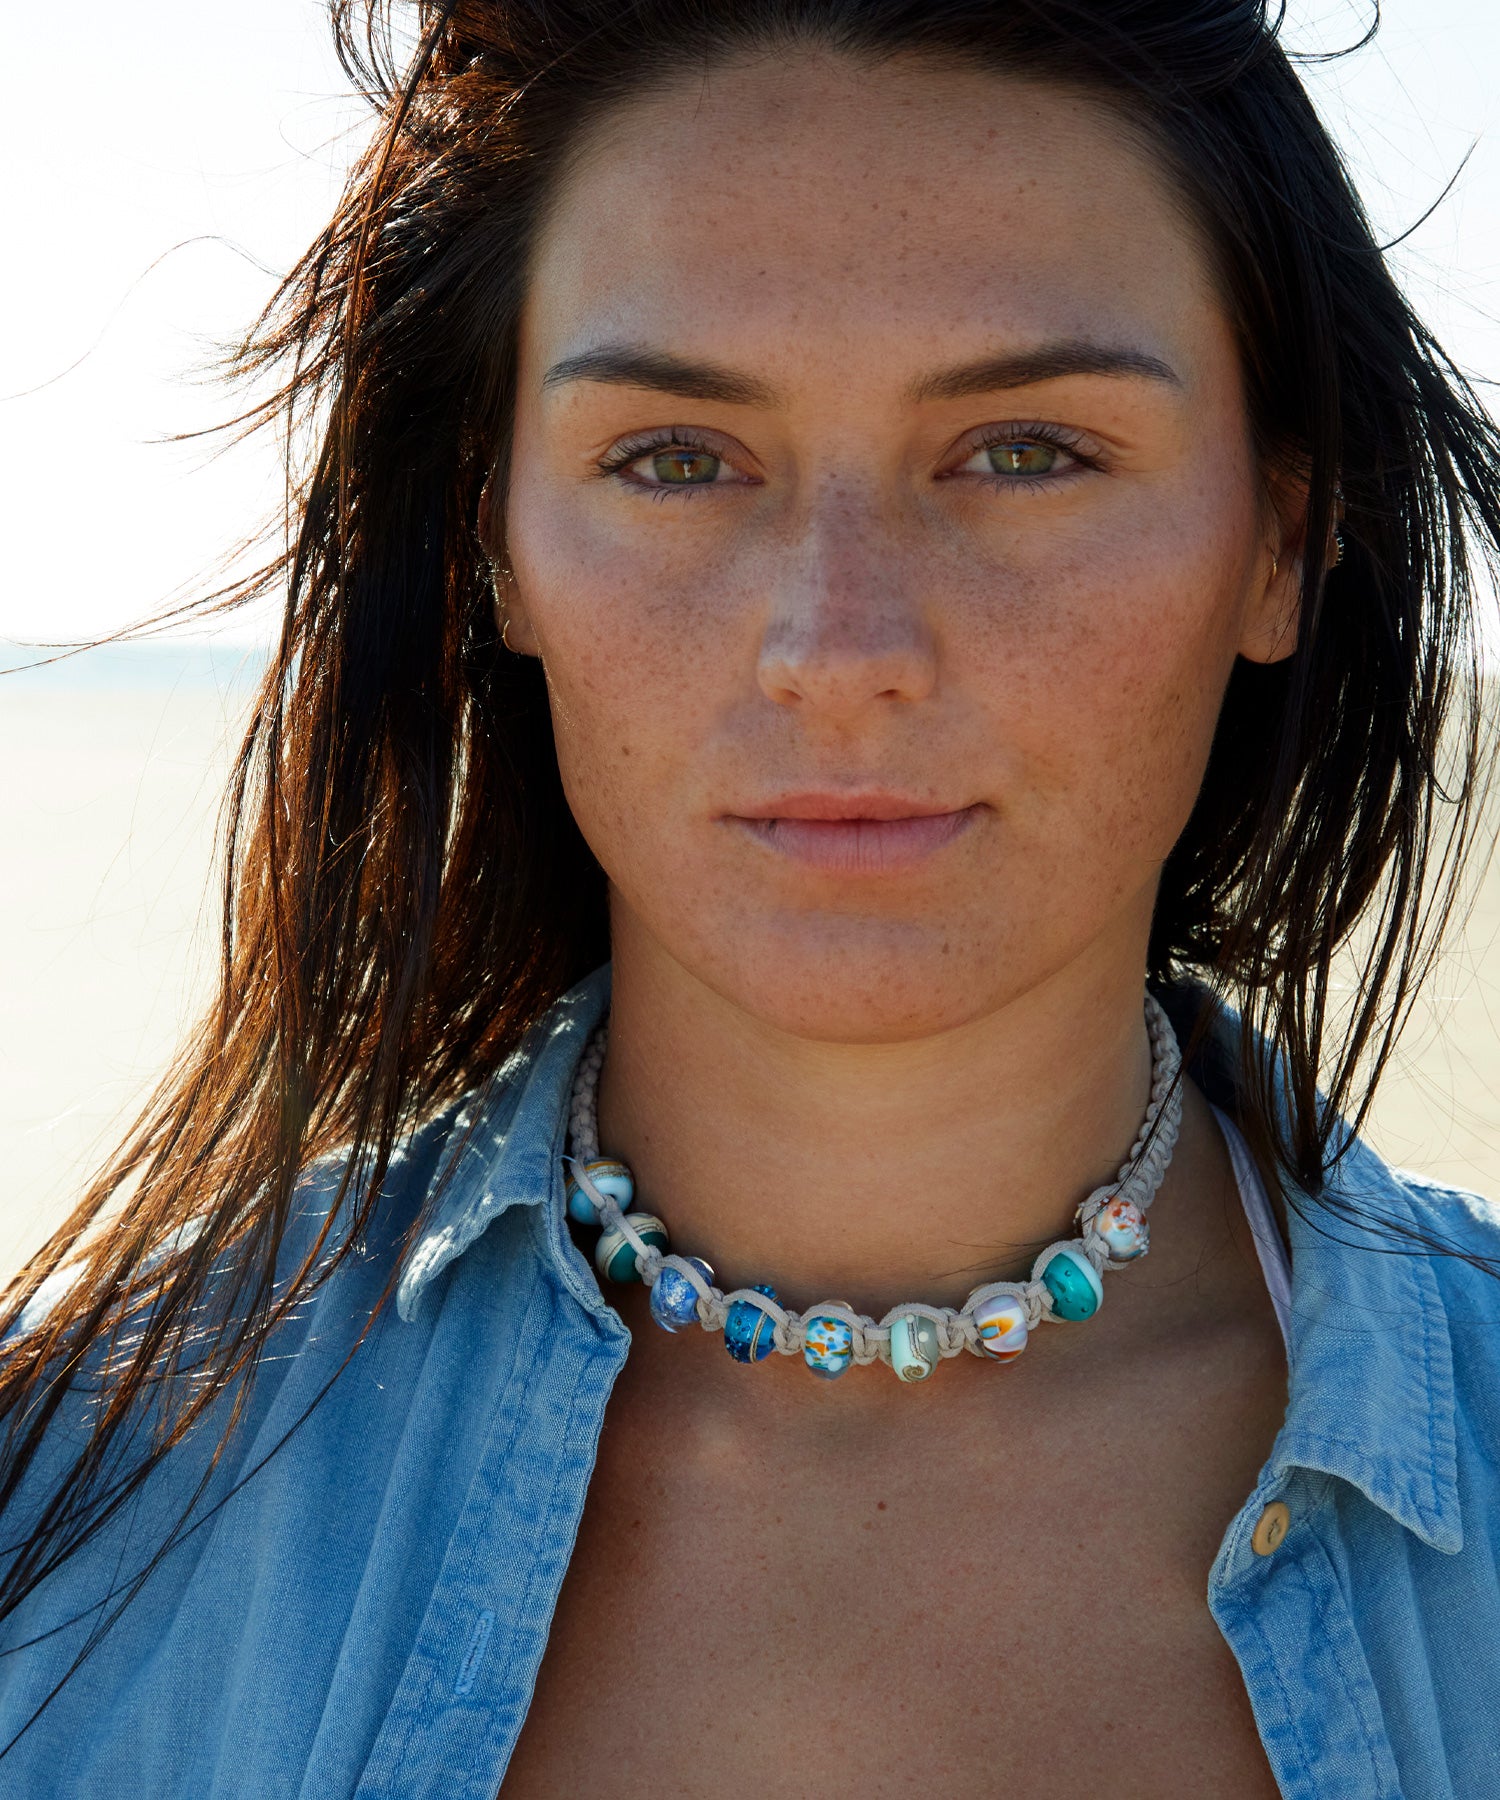
Follow our step-by-step tutorial to make our most popular Nalu Beads' bracelet, the classic braid. You can also adapt this to create a necklace, anklet or keyring. Watch our video tutorial or read our step-by-guide to bracelet braiding.
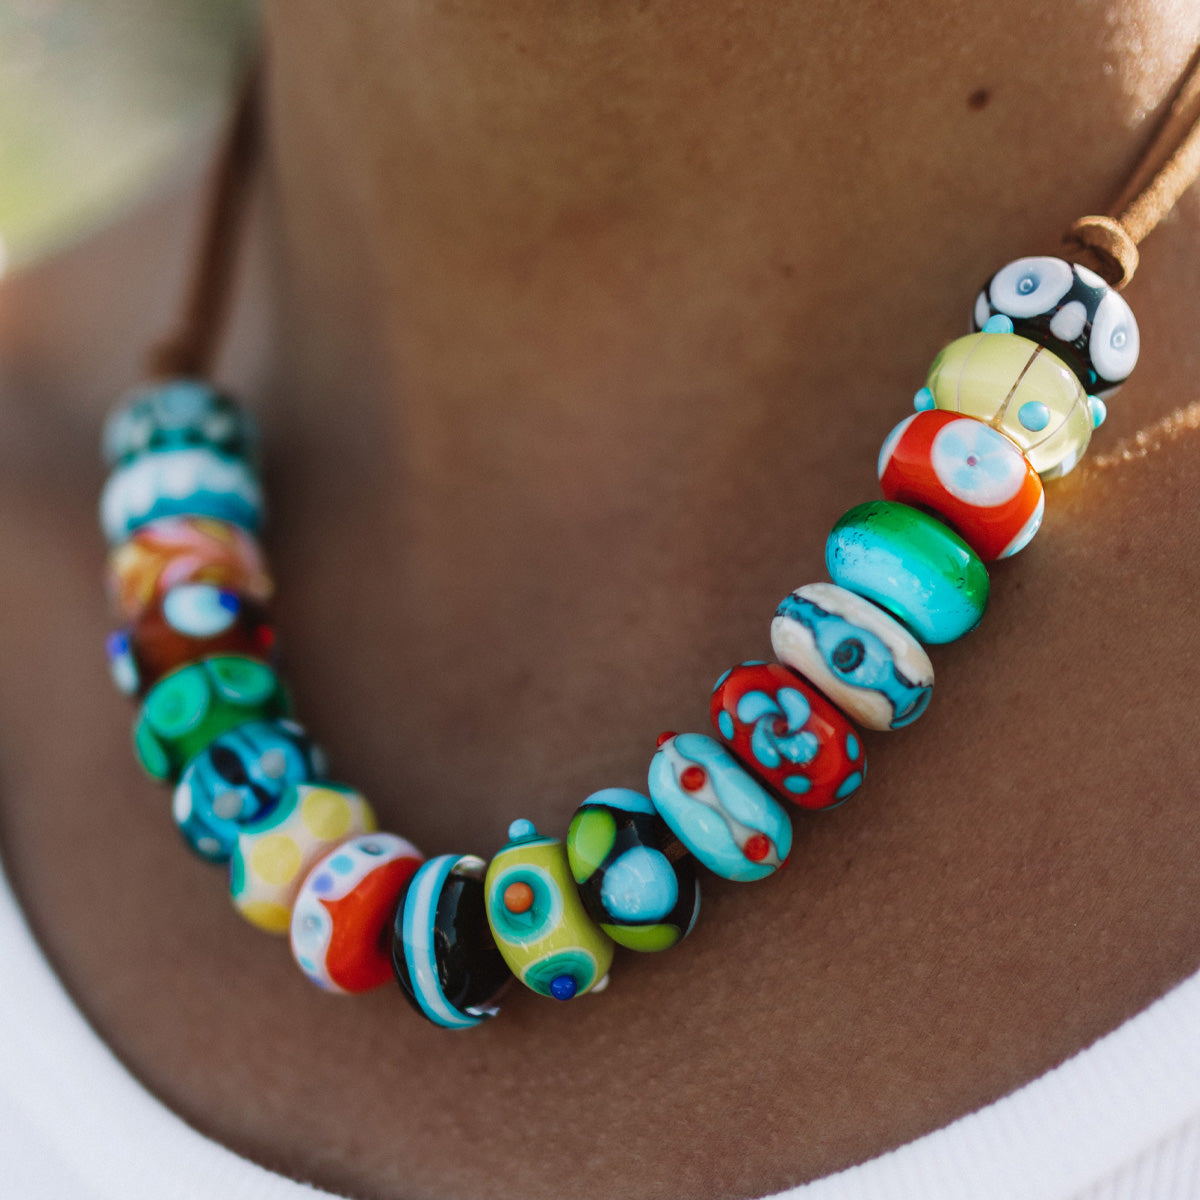
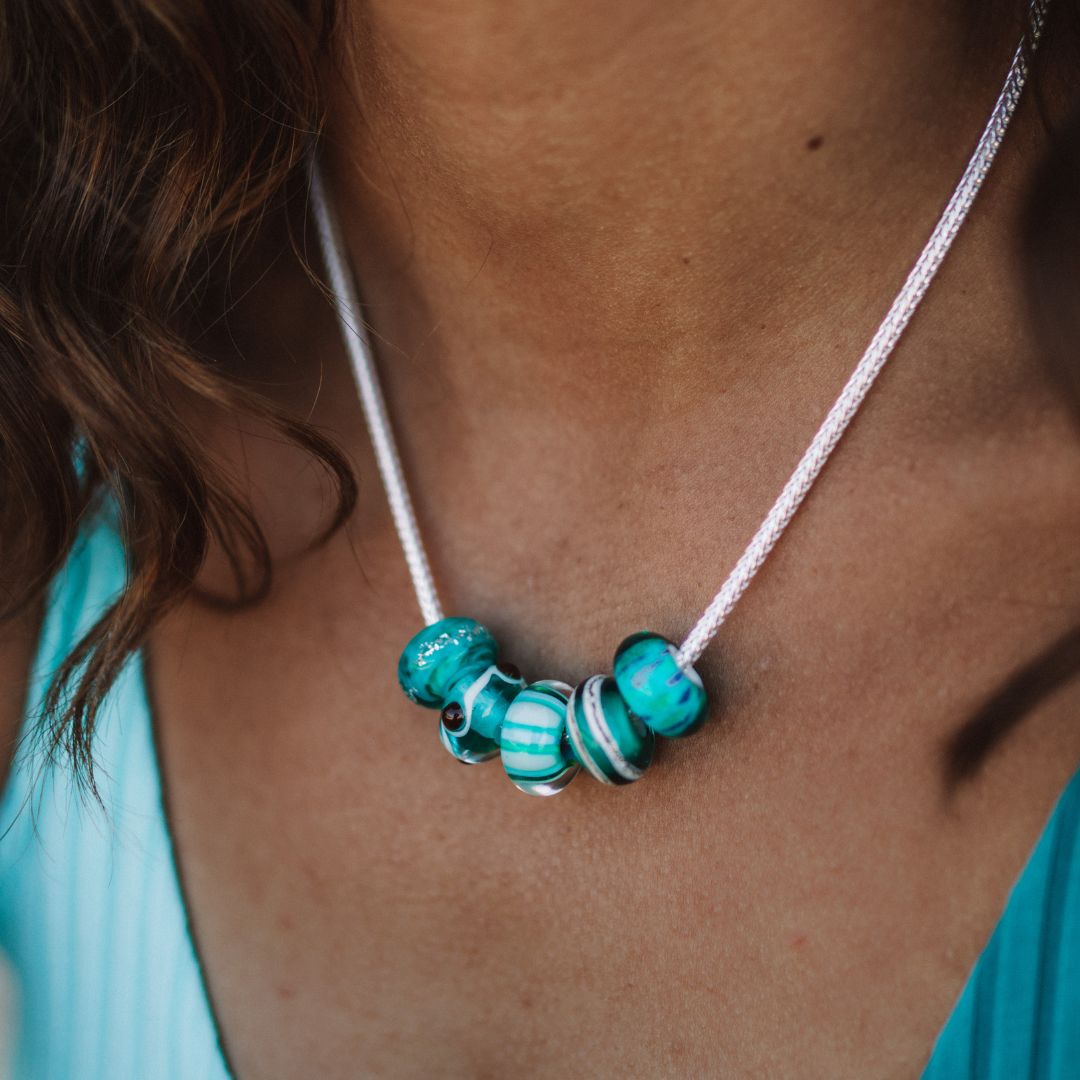
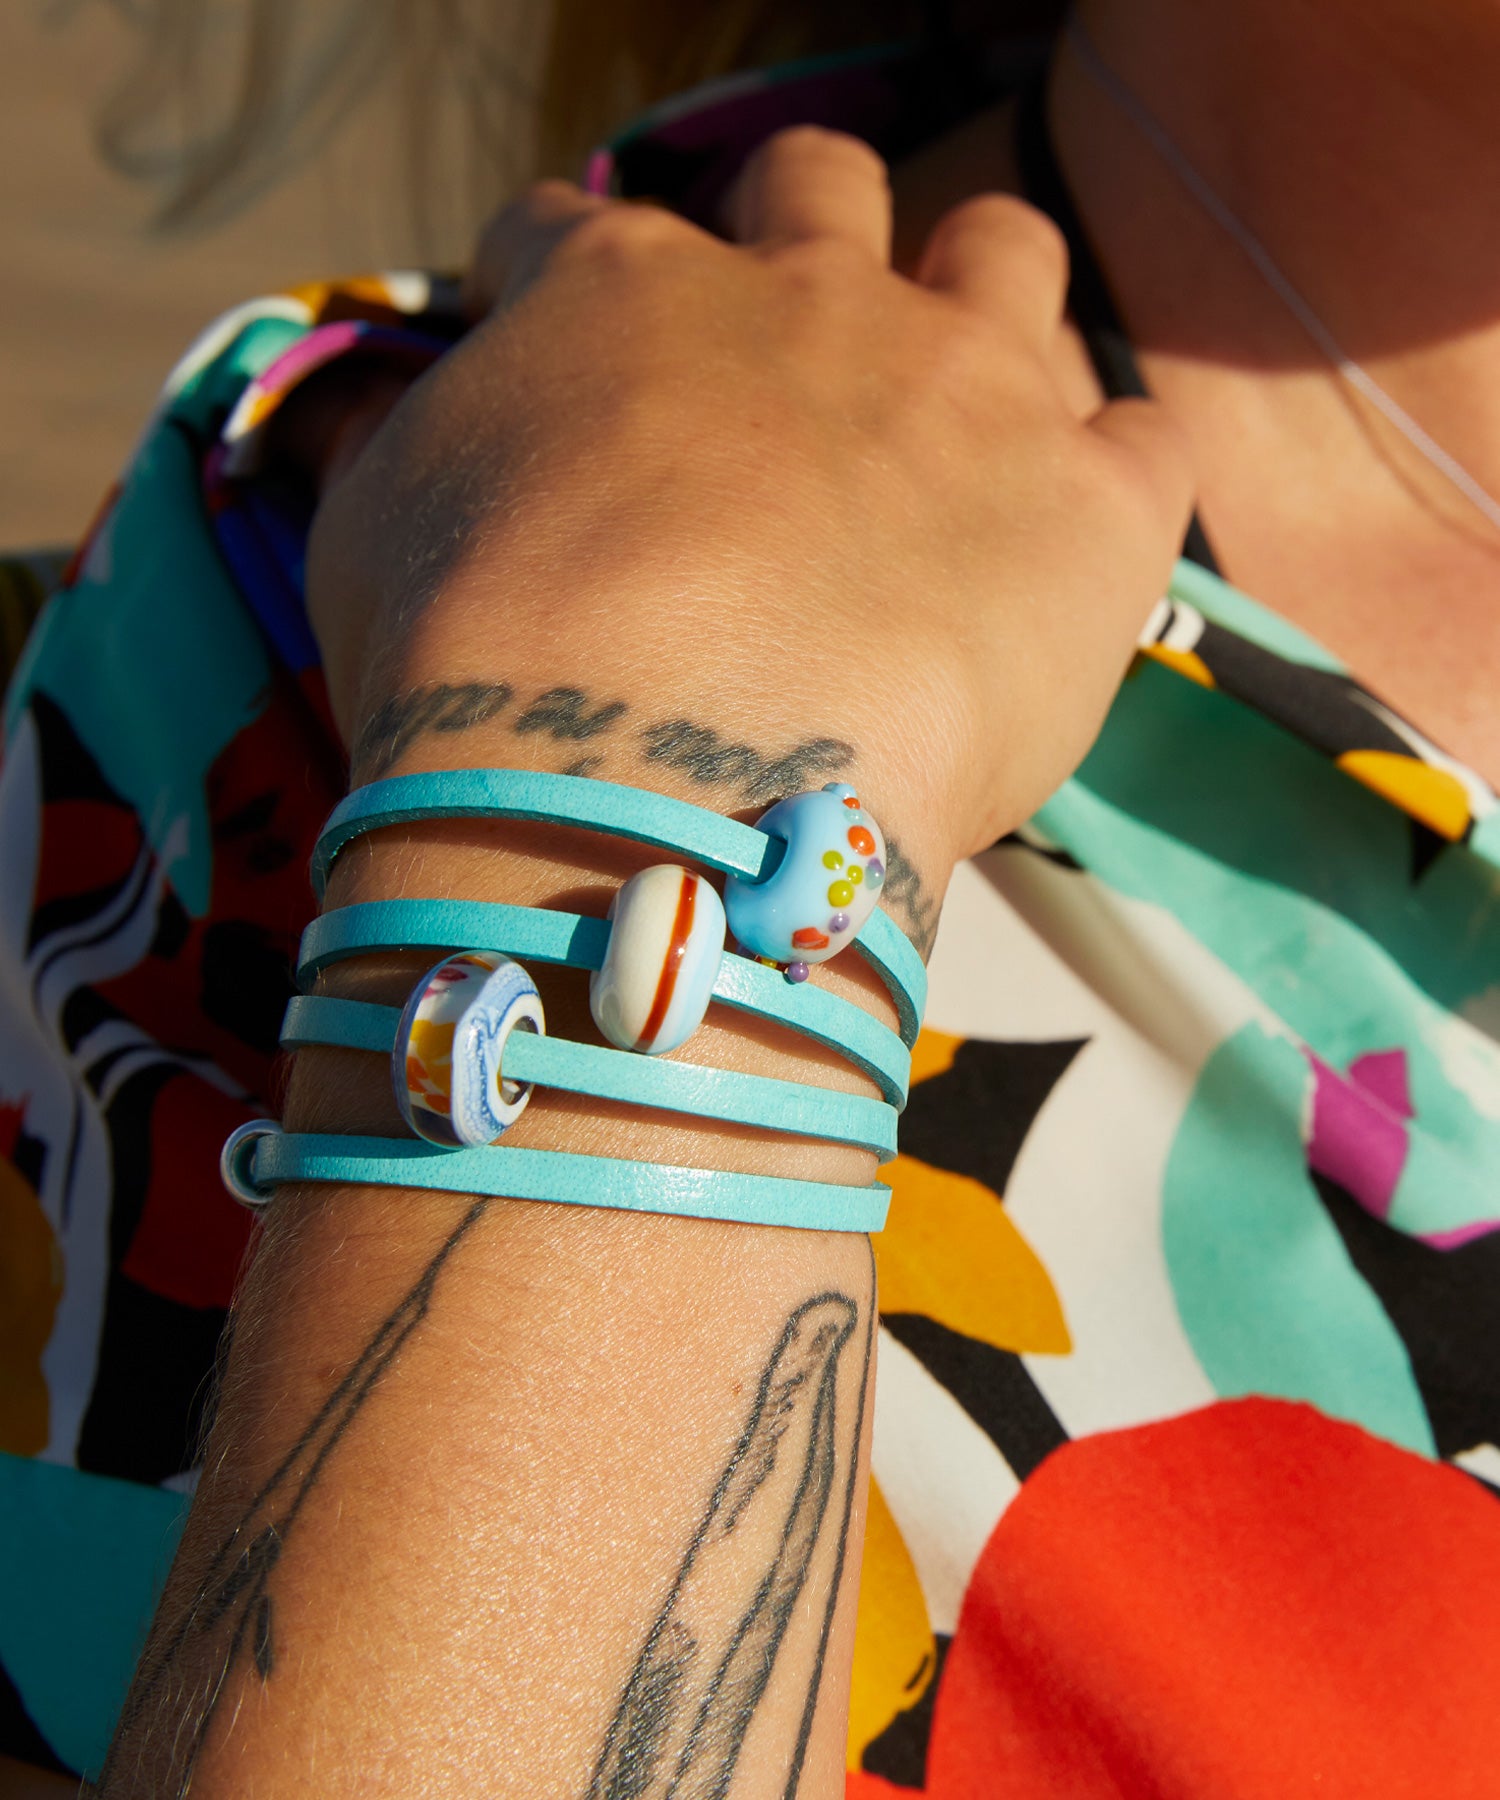
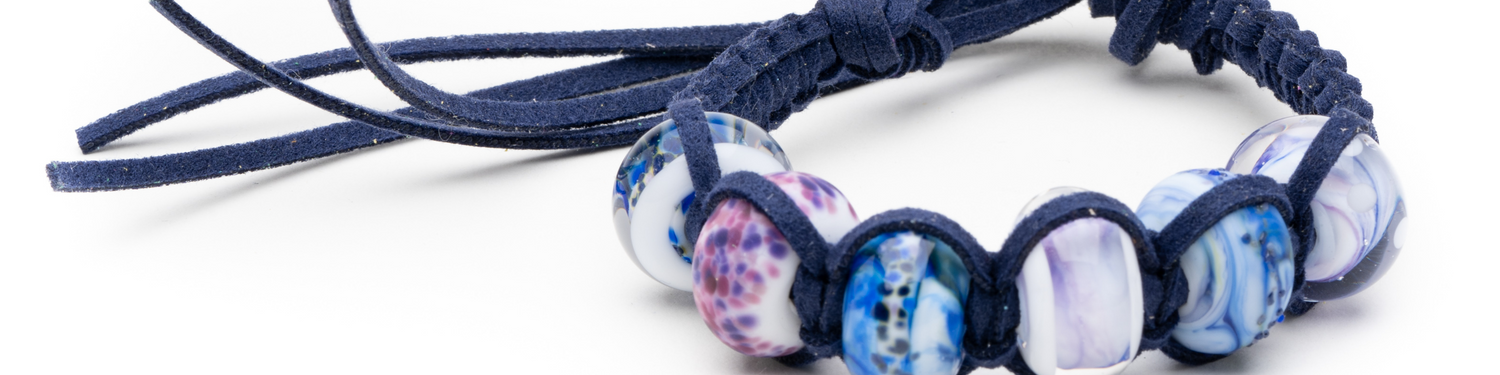
For this cord bracelet, you can use up to 10 of our Murano glass beads.
Our lovely soft microfibre faux suede cords are available in lots of colours and are 100% animal and vegan-friendly!
Our cord reels are sold in a 3m length perfect for making Nalu Beads jewellery but if you require a specific length please contact us and we can cut any length you need.
Step-by-step guide to braiding your own Nalu Beads classic bracelet:
- You’ll need a 1-meter and a 2-meter piece of cord.
- Start by folding both pieces of thread in half and tying a knot to make a loop.
- Attach your threads to your board by the loop.
- Arrange your threads so the two short ones are in the middle with the two longer ones to the outside.
- Pull the two shorter threads tight and tuck them under your board, you are going to braid over these two with your longer threads.
- Create a loop with the left thread over the middle two threads.
- Pull across towards the right.
- Take the thread on the right and pull it down and over the loop thread.
- Tuck this thread under the little two threads and up and through the loop.
- Pull the threads evenly across until the knot is at your desired tension; the looser you pull the threads across the wider your knots will be the tighter you pull the threads across the narrower your knots will be.
- Now create a loop with the left thread by pulling it under the middle two threads towards the right.
- Take the thread on the right and pull it down and under the loop thread tuck this thread over the middle two threads and across and through the loop.
- Pull the threads evenly across until the knot is at your desired tension and try to keep your tension consistent so that your bracelet will be an even width all the way down.
- Continue this knotting over and over until you are ready to place a bead.You can check this by holding the knot on the underside of your wrist and see where the braiding comes to on your own.
- You can now arrange all your beads in the order in which you want them to be in your bracelet do this by threading them on the middle two threads and tucking them back under your board.
- Push your first bead up to the braid.
- Pull the threads tightly around bead.
- Continue to knot as you were before and your beads. How many knots you will need to tie now will depend on the number of beads being used. If you only have a couple of beads, you'll be able to have more space between your beads than if you have a lot.
- Check as you go along by wrapping it around your wrist, once your bracelet is long enough, tie all four threads together in a tight knot. Make sure you tie it close to the end of your braiding to stop it from unravelling.
- Trim off two threads this makes it easier to thread your spacer bead fastener on or you can leave all four threads for a toggle fastener, or if you are going to tie it on, tie another knot to hold it in place.
- Finish the end by tying little knots at the end of the threads you have just made a classic Nalu Beads bracelet, anklet, necklace or keyring.
For more ways to make your own unique surf necklaces and beach jewellery, visit our YouTube channel.
Leave a comment
This site is protected by hCaptcha and the hCaptcha Privacy Policy and Terms of Service apply.